Simple and Easy Bookcases Made Using Osb
This one sheet plywood bookshelf is so easy, I almost feel silly sharing it….*ALMOST* 😉
This post is sponsored by Build Something. See policies page.
.
If you've followed along very long, you know that I LOVE LOVE LOVE building with plywood. It saves time, saves money, and is super easy to work with.
For more plywood project ideas, check out a few of my favorites:
But building something awesome with a SINGLE SHEET–it doesn't get much better than that.
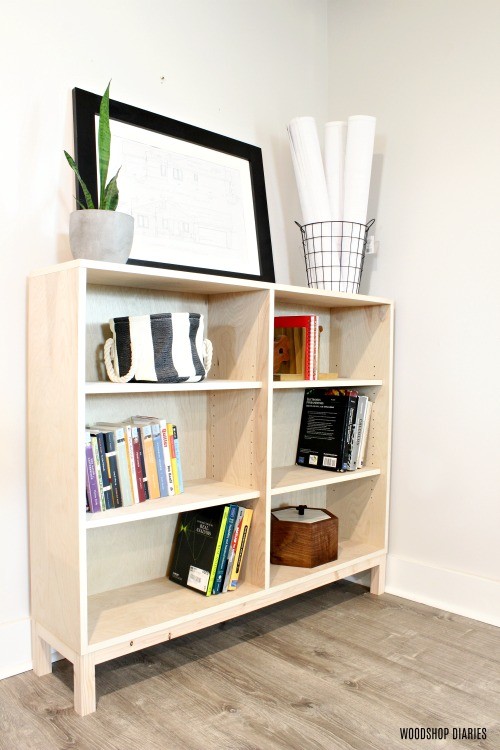
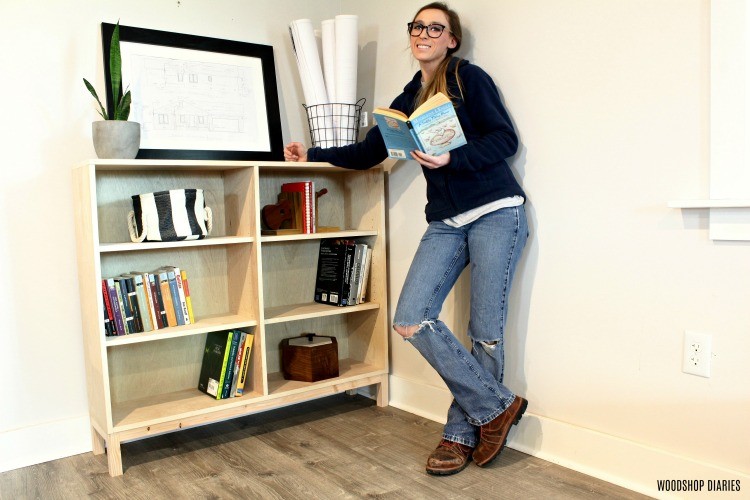
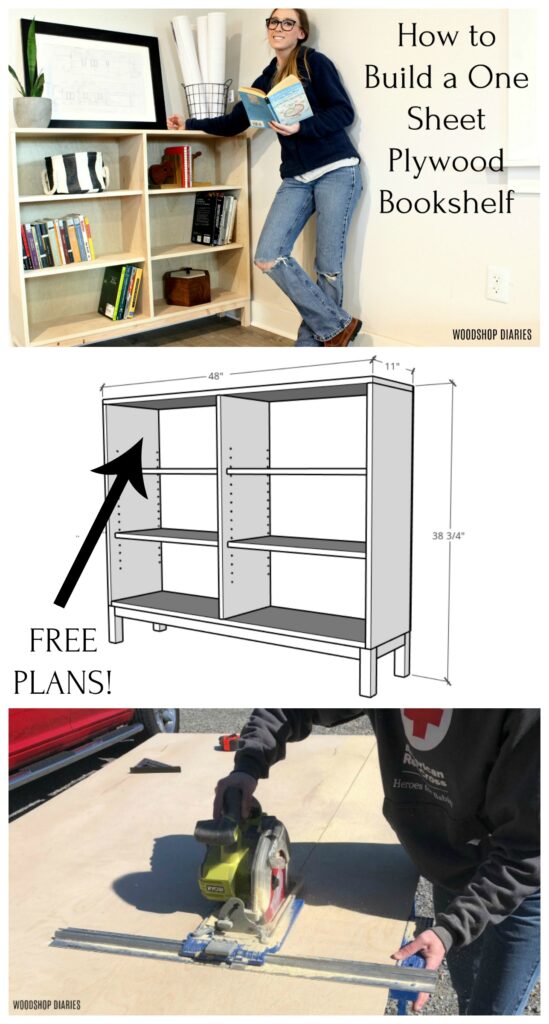
You can build this super simple bookshelf with as many adjustable shelves as you want from ONE SHEET of ¾″ plywood and two 2×2 boards. I'm sharing the FREE printable plans over on Build Something and I've got the video and tutorial below.
If you don't already know, Build Something is a hub for free building plans for everything from small serving trays to large built ins. I've posted several plans over there I'd love for you to check out, including these.
.
For this bookshelf, you will need:
- (1) ¾″ full sheet of plywood (you will have some leftover)
- (2) 2x2x8 boards
- ½ sheet ¼″ plywood (optional)
- 1 ¼″ pocket hole screws
- 2 ½″ pocket hole screws
- 1 ¼″ wood screws
- 2″ wood screws
- Edge banding (optional)
- Kreg pocket hole jig
- Kreg Rip Cut
- Kreg Accu-Cut
- Miter Saw
- Circular Saw
- Drill
- Kreg shelf pin jig
- Shelf pins
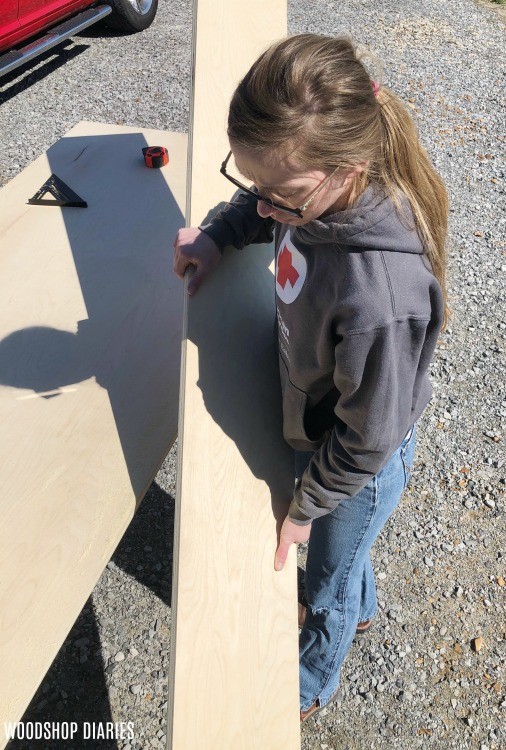
Step 1: Cut Down One Plywood Sheet for Bookshelf Carcass
I've got a detailed post here about how to quickly, easily, and accurately cut down a plywood sheet. Please check it out as it will be helpful for not only this project, but any future plywood projects you tackle.
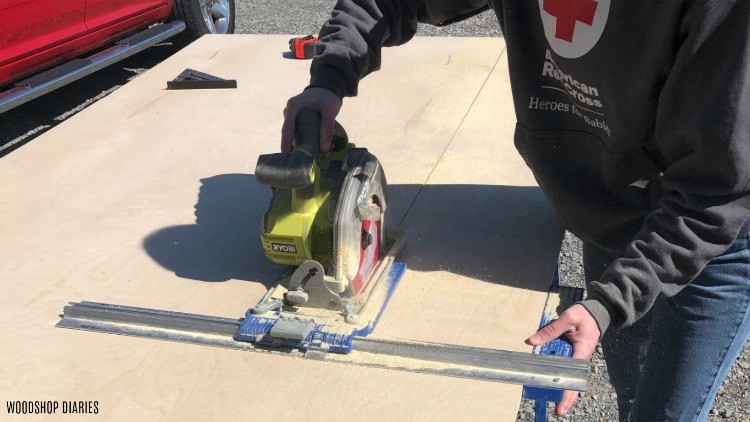
I started by ripping my plywood sheet down into two 11″ wide and one 10″ wide strip using my circular saw and Kreg Rip Cut. The 11″ pieces will be for the bookshelf body and the 10″ piece will be for the shelves. What's left can be kept for scraps, or used for additional shelves.
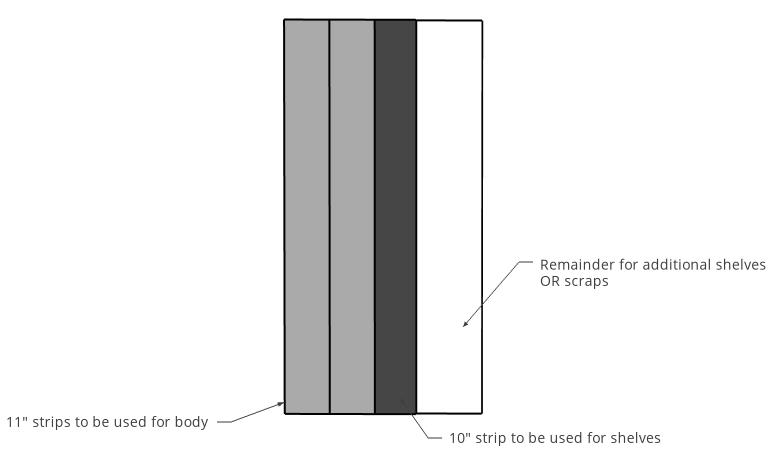
Once the plywood was ripped into strips, I cut down two side panels, a top, bottom, and middle divider from the 11″ wide strips on the miter saw. For exact measurements, be sure to grab the plans over on Build Something.
Step 2: Assemble Bookshelf Carcass
I assembled this bookshelf carcass using wood glue and ¾″ pocket holes with 1 ¼″ pocket hole screws to make it quick and easy. I drilled pocket holes into the top ends of the side panels and the middle divider and into both ends of the bottom panel.
.
Before attaching, I applied iron on edge banding to the front edges of all these plywood pieces and both the front and sides of the top. Then, I glued and screwed the bottom panel between the sides, and screwed the sides into the top to make one large box.
If you have any corner clamps, it's helpful to clamp everything square until the glue dries so you can make sure it doesn't dry up crooked.
.
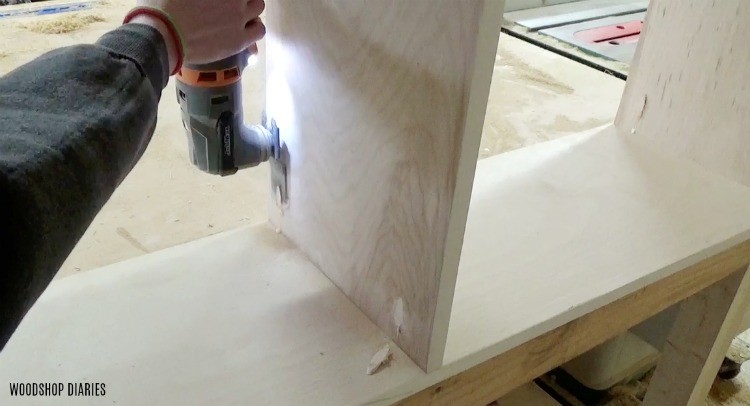
I centered the middle panel in place between the top and bottom and attached using pocket hole screws at the top and using 1 ¼″ wood screws through the bottom. You could use pocket holes in the bottom as well, I was just avoiding using another set of pocket holes to fill in later.
Step 3: Fill Pocket Holes in Plywood Bookshelf Carcass
This step is optional, but I've been using some of these pocket hole plugs lately and they've been working really well. Since the pocket holes at the top of the piece can be seen, I flipped it upside down and used some wood glue and glued these plugs into the holes.
These are kind of one size fits all, so they fit well in 1 ½″ pocket holes, but will need to be trimmed when put into ¾″ pocket holes. So once the glue dried, I used a oscillating saw and a flush cut blade to trim off the excess then sanded it smooth.
Step 4: Build Bookshelf Base and Attach
The base in this project was made from 2×2 boards. I cut four legs, two short sides and two long sides on the miter saw (see plans for exact dimensions) and assembled the base together using 1 ½″ pocket holes and 2 ½″ pocket hole screws.
.
Two things to note here: You should assemble the short sides between the legs first, then attach the long sides between them. If you add the long sides first, you wont have room to get your drill or driver in to drive the screws on the short sides.
Also, I use wood glue and one screw per joint instead of two screws per joint. The wood glue, once dry, will keep the joint from twisting since there is only one screw. But putting two screws into a 2×2 end is likely to split, so I just use one.
.
Once the base was assembled, I flipped the carcass upside down and applied wood glue to the top of the base and clamped it onto the bookcase carcass like shown. I also used 2″ wood screws through the bottom of the base up into the cabinet to secure it, but at this moment, I was out of 2″ wood screws and had to run to the store to get them. So in the mean time, I just clamped it until the glue dried and added the screws later.
Step 5: Add Back to Plywood Bookshelf
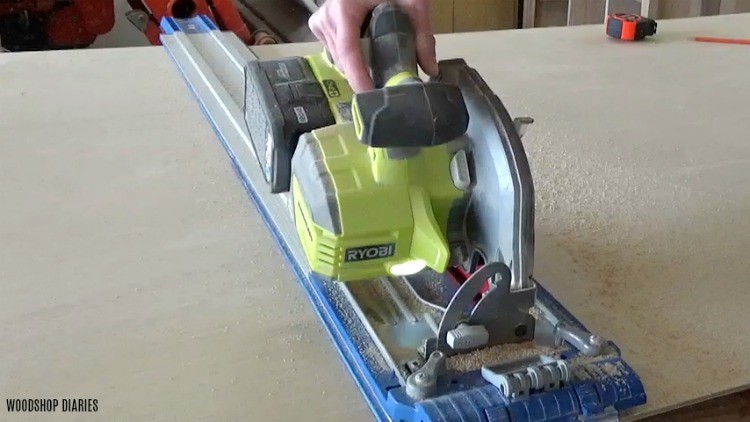
This step is also optional. If you're placing this shelf right up against the wall, you may opt not to install a back side. However, if you wish to, cut a back to fit over the carcass sides from a ½ sheet of ¼″ plywood. I used my circular saw and Kreg AccuCut for this. But you can cut this down however you find easiest. (Don't forget my tutorial for how to cut down plywood sheets *wink wink*)
I sanded the edges and simple stapled in place with a hand stapler. Wood glue and a nail gun would work as well OR you can screw it in place, too.

Step 6: Add Adjustable Shelves to One Sheet Plywood Bookshelf
When I add shelves to a furniture piece, I almost always make them adjustable because 1. I think it's easier and 2. It gives you options later.
.
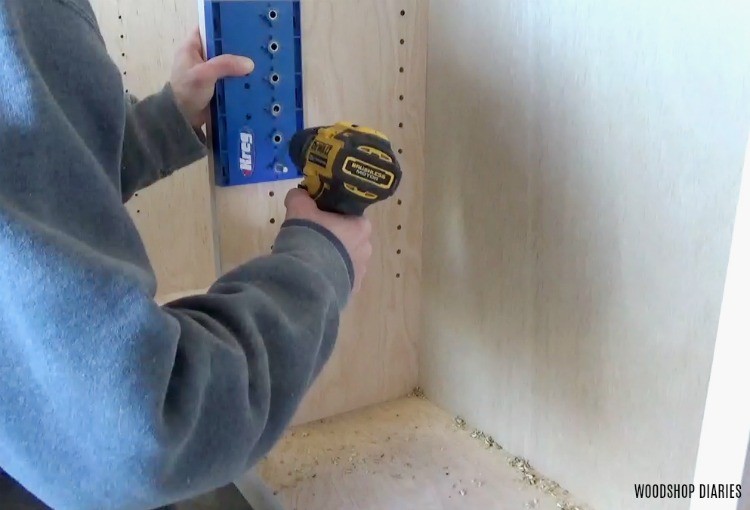
So using my Kreg Shelf Pin Jig, I drilled holes along the sides in the back and front to allow me to place shelf pins where I want to sit my shelves on. These shelf pins simply slide into the drilled holes and support shelves.
I trimmed four shelves from my 10″ wide piece of plywood from step 1 about ¼″ shorter than the openings I'm placing them in. That just allows a little wiggle room so it's not scraping the sides when you put them in place. I cut four shelves, but you can cut more from the remaining plywood sheet (there will be a little 11″ wide plywood pieces left) if you want.
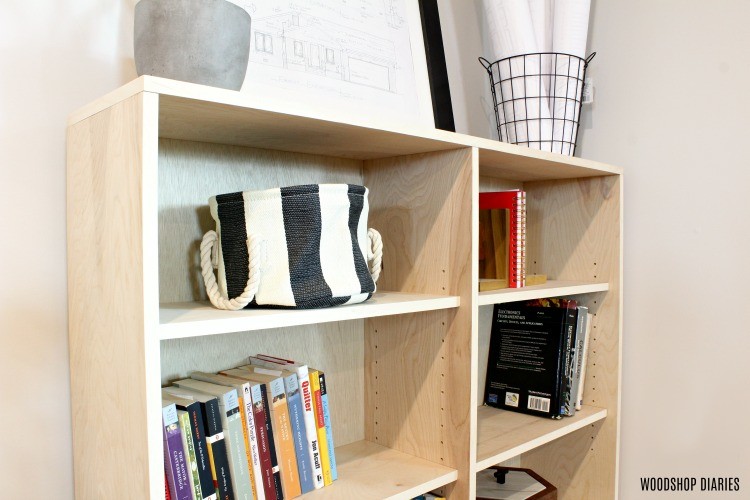
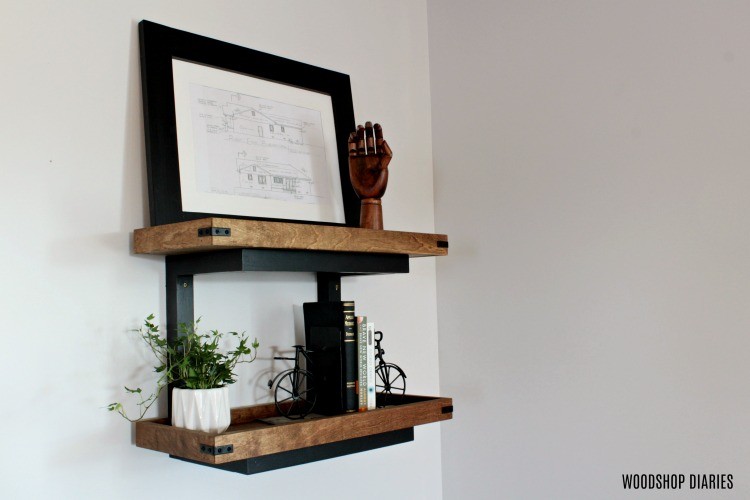
Now, it's ready for whatever finish you want to apply. I built these for a friend and they were finishing them themselves, so I left them unfinished here, but I think they'd look cute with a black painted base and light wood stain shelf…similar to the style I used for these wall shelves.
But that's just my own opinion. If you built it, you get to finish it however makes you most happy 🙂
Now, if you want to build some for yourself, head over to Build Something and download the plans for free and get building! Or if you're looking for some more shelf ideas, these are some good ones:
I'd love if you'd pin this for later and share with your friends 🙂
Until next time, happy building 🙂

Source: https://www.woodshopdiaries.com/one-sheet-plywood-bookshelf/
Post a Comment for "Simple and Easy Bookcases Made Using Osb"